GUIDE: Rank Prestige, Weapon Prestige, Division Prestige — What Resets and What You Keep

5078.codww2

Prestiging is very forgiving and well worth your time in Call of Duty: WWII as opposed to some of the Call of Duty titles of the past. When you prestiged in earlier games, your stats were nearly hard reset, which discouraged many players from engaging in prestige at all. WWII follows suit of the more recent games in which prestiging is much more forgiving!

This guide details how Rank Prestige, Weapon Prestige, and Division Prestige work, including what resets and what you keep for each prestige.

Rank Prestige

d8a16abfd6d0b0355a1f795a4719cc83

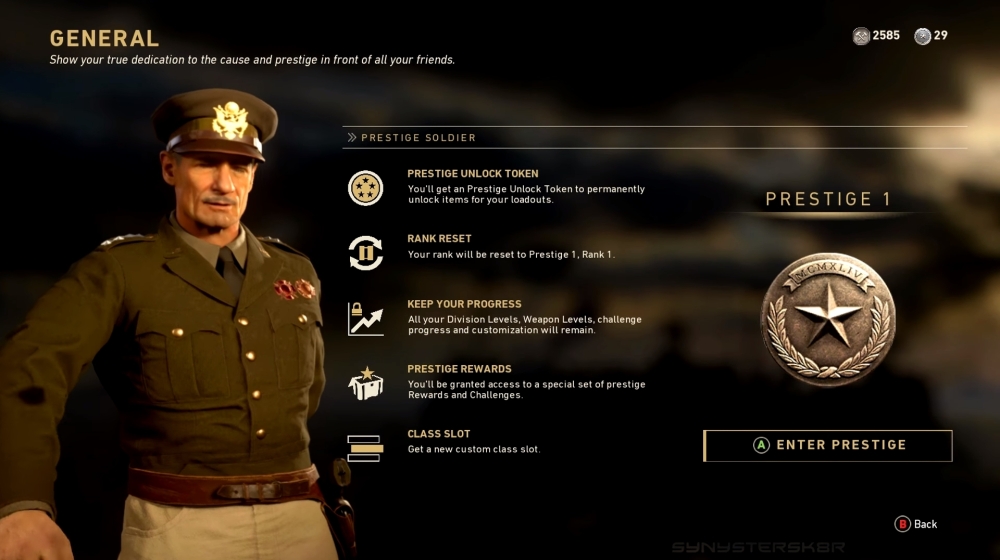
In order to Prestige, you have to reach rank 55 in multiplayer. Once you are rank 55, you will have access to the Prestige Outlook that was previously blocked off in Headquarters. You will find the General at the edge of the Outlook. Interact with him and he will give you the option to prestige.

What you gain from Rank Prestige:

  • Rank Reset (advance to next Prestige, Level 1)
  • Permanent Unlock Token
  • Additional Create-a-Class slot
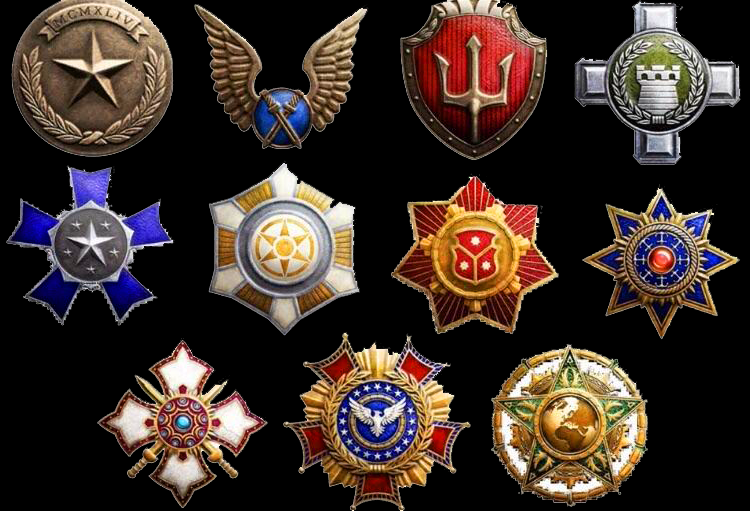
  • Various Prestige Awards (Calling Card, Emblem, new Challenges, etc.)
  • A Prestige icon that will float above your head for the remainder of your current Headquarters session
  • Note: you keep Weapon/Camo progress, Division progress, Challenge progress, etc. Only your rank resets.

Weapon Prestige

My Great Capture Screenshot 2017-12-03 21-25-12

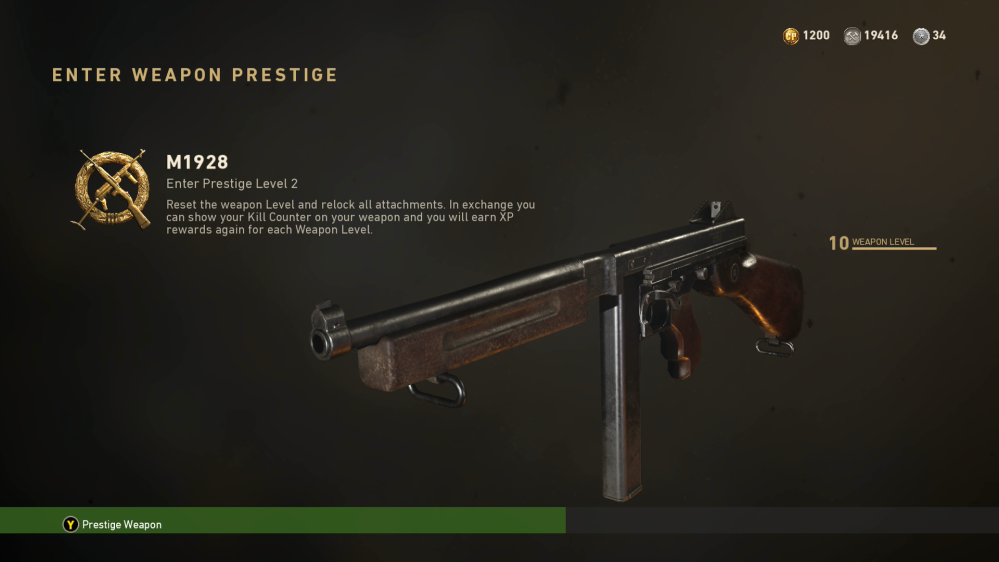
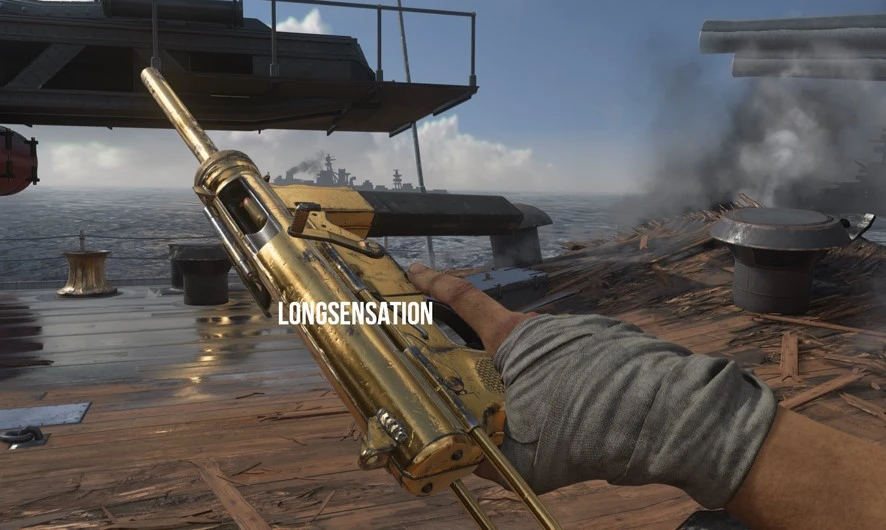
Once you max out a weapon’s level, it will be eligible for prestige. Head over to the Gunsmith towards the back of Headquarters. There will be a weapon prestige prompt you can click for eligible weapons. There is also an option to prestige a weapon from within Create-a-Class. You should be able to hold down the Y/Triangle button in the weapon select menu. A weapon can currently be prestiged a total of two times.

What you gain from Weapon Prestige:

  • Weapon level reset – all attachments are re-locked
  • 1st Prestige = Clan Tag display option on the weapon
  • 2nd Prestige = Kill Counter display option on the weapon
  • Note: you keep camo progress, Rank progress, Division progress, Challenge progress, etc. Only your weapon level/attachments reset.

Division Prestige

df2a4ce4e189a0ae2db10ad64e7ac4eb

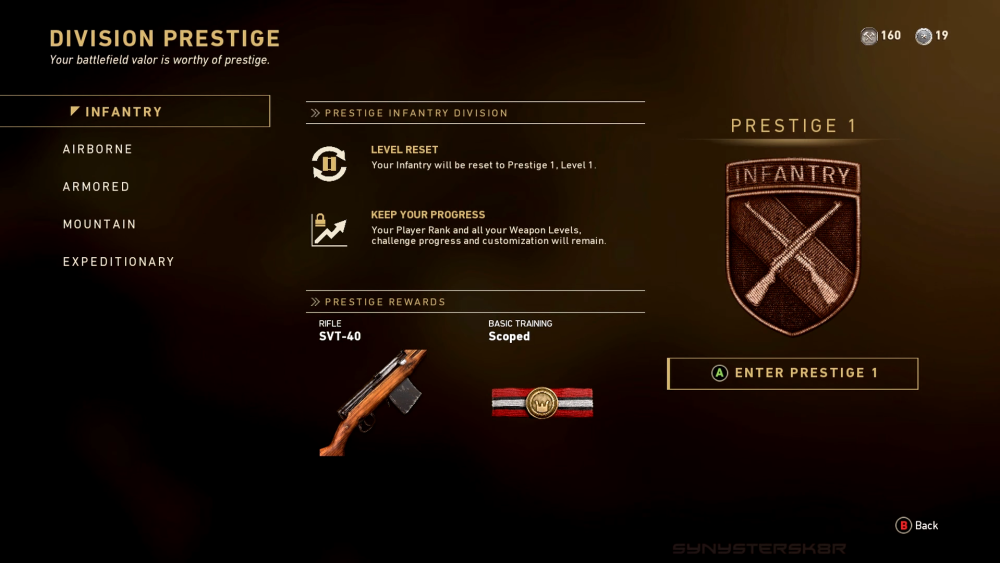
Once a Division reaches level 4 and the XP bar is maxed out, it is eligible for prestige. Visit the Division Prestige vendor at the entrance of the Prestige Outlook, select the Division you wish to prestige, and follow the prompt. Each Division can currently be prestiged a total of four times. Each Prestige level will reward you a Division-themed item.

What you gain from Division Prestige (in respective order of Prestige level):

  • Division level reset
  • Infantry Division = SVT Assault Rifle & Scoped Basic Training, Calling Card, Division Outfit, Epic SVT Variant
  • Airborne Division = MP-40 Submachine Gun & Energetic Basic Training, Calling Card, Division Outfit, Epic MP-40 Variant
  • Armored Division = MG 42 Light Machine Gun & Hunker Basic Training, Calling Card, Division Outfit, Epic MG 42 Variant
  • Mountain Division = KAR98K SniperRifle & Inconspicuous Basic Training, Calling Card, Division Outfit, Epic KAR98K Variant
  • Expeditionary Division = Sawed-Off Shotgun Shotgun & Concussed Basic Training, Calling Card, Division Outfit, Epic Sawed-Off shotgun Variant
  • Once each Division is prestiged at least once, you also unlock the V2 Rocket Killstreak (25 gunstreak) in multiplayer
  • Note: you keep Weapon/Camo progress, Rank progress, Challenge progress, etc. Only your weapon Division level resets.


Guide – Call of Duty: WWII Multiplayer Camo Challenges

Finally! Call of Duty:WWII launched earlier this week and there new so many new features and gamemodes to try out and enjoy! One of the first things I personally start working on right away are the Multiplayer camos in order to unlock the highly sought after Gold and Diamond camos as quickly as possible.

4f5kc4tszfvz

Gold Camo on the Grease Gun via @LongSensationYT

Weapon camos in WWII work similarly to the Black Ops 3 camo system. There are a set amount of kills you have to achieve for the first nine camos. Assault Rifles, Sub Machine Guns, Light Machines Guns, and Pistols each require headshots. Shotguns and Sniper Rifles each require One Shot, One Kills (OSOK).

The first set of camos are unlocked as follows: 

Once you unlock Ambush, you can begin working on the final five camos that contain varying challenges. Once you unlock them all, you will obtain Gold camo!

Note that the following challenges are specifically for Sub Machine Guns:

  • 10 Payback Medals = M1916 Camo
  • 50 Kills while using Airborne Division = Snow Camo
  • 50 Kills while using a Division other than Airborne = Leopard Camo
  • 2 Rapid Kills, 5 times = Bronze Camo
  • 5 Killstreak, 5 times = Copper Camo
  • Obtain all Camos for a weapon = Gold Camo

The Bronze and Copper challenges will be consistent across every weapon class. However, M1916, Snow, and Leopard will vary depending on which weapon class you are using. For example, Assault Rifles will require 50 kills while using the Infantry Division for Snow. Snipers will require Mountain Division, Shotguns will require Expeditionary, and LMGs will require Armored.

DNqMVMEXcAA1kfM

Diamond Camo on Shotguns via @LongSensationYT

There is one final camo that is confirmed in the game as of now: Diamond Camo. To unlock Diamond, you have to obtain Gold Camo on every weapon in a class.

We wouldn’t be surprised if there is an ultimate camo once Diamond is unlocked for every weapon class, like Black Sky in Infinite Warfare. If you happen to be one of the first to unlock the supposed camo, please let us know on Twitter!

Guide: How to Defeat Alien Grey Boss Battle in Zombies in Spaceland

Willard Wyler’s Halloween Scream event is now live in Call of Duty: Infinite Warfare and with it comes the brand new Boss Battles Zombies gamemode. Boss Battles allows players to jump straight to the Boss fight of each of the five Zombies maps without having to complete previous Easter Egg steps. Players also start off with $20,000 and can purchase as many weapons and perks available in the map that they can afford.

The DLC maps will rotate on a weekly basis during the event. However, Zombies in Spaceland will be available to play until the event ends on November 1st. So here’s a guide on how to easily defeat the Boss, Alien Grey.

7fe46eac14e7c195b18827872412e3fd

Fight Mechanics

The mechanics of the boss fight are pretty straight forward. Alien Grey will teleport around the map shooting at you while an endless amount of zombies chase and try to down you. The goal of the fight is to shoot and eventually kill Alien Grey.

My Great Capture Screenshot 2017-10-15 23-36-26

Around Alien Grey’s neck is a necklace that glows green. When you damage him, the necklace will change from green to yellow, and then red to reflect the amount of damage done. When enough damage is done to the Boss, it will either take a knee or project a yellow bubble shield and then take a knee. Once the boss is kneeling, you want to run behind him and knife his backpack as quickly as possible. If done correctly, one of the two fuses should be removed from the backpack. If not done correctly, the boss will regenerate his health and you will have to repeat the damage cycle again.

My Great Capture Screenshot 2017-10-15 23-36-01

Once the first fuse is removed, Alien Grey will begin to teleport and you have to repeat the process. Once the boss is kneeling again, knife its backpack and remove the final fuse. Now Alien Grey will be unable to regenerate health. Damage the boss once again and when its necklace glows red, it will plummet and be defeated. You win!

Tips

Loadout

My Great Capture Screenshot 2017-10-15 23-36-37

For weapons, we highly recommend you pick up the pack-a-punched Kendall .44s. The pack-a-punched version comes with explosive rounds and makes clearing zombies extremely easy. The Shredder Wonder Weapon should be purchased as the main damage dealer for Alien Grey. The Dischord works well also.

As for Perks, the recommended load out is Tuff n Nuff, Quickies, Racin Stripes, Bang Bangs, and either Bombstoppers or Up-n-Atoms for the final perk. Bombstoppers is phenomenal as it eliminates explosive damage, allowing you to be worry-free when wielding the Kendalls. Up-n-Atoms revival is useful, but once you go down in the boss fight, the odds of you winning without perks are little to none.

Strategy

  • The boss is a bullet sponge! It takes huge amounts of damage to change the color of the necklace. If the damage isn’t dealt quick enough, Alien Grey can fully regenerate health in the middle of the fight. The boss fight is extremely hard to accomplish solo because of this, so we recommend going in with multiple players, ideally a full squad of four.
  • Shooting the necklace deals more damage!
  • Be sure to pickup the power-ups Alien Grey drops. If you miss a Max Ammo drop, there’s a good chance the fight is over.
  • Train between spawn and the pack-a-punch-portal. This is the best area to fight in due to the openness. Do not head towards the Triton area. There’s a good chance you won’t make your way back out.
  • Keep moving, watch your positioning. Being on the move is a given in. Do not make your way near tight corners or obstacles. Alien Grey can teleport right beside you and trap you for death.